The 515 Bathroom Remodel-Cabinets

All remodels require many steps and, the different trades involved are separately working on their particular specialty, just waiting for their turn to do the installation.  This is where and why our bathroom remodel took the 515 days to complete.  There was only one very handy, engineer husband doing virtually all the work.  That is, he was demolition guy, plumber, cabinet maker, tile and stone mason, electrician, flooring installer, along with ordering all the parts for every one of the above tasks.  My engineer wears many hats.

One of the engineer’s favorite mediums to work in is wood.  I offered that we could have the cabinet maker I’ve used before make the vanity and linen cabinet for the bathroom, but he wanted to make them himself.  There was one caveat with the vanity cabinet.  I wanted a decorative detail applied to the drawers; again, offered a couple of different ways he could achieve the look I wanted.  One, was to apply a simple, thin molding to the outside of the drawers.  Two, we could paint the detail on the drawers, or three, he could inlay them with a thin ebony trim.  Naturally, he chose the latter, it was a new challenge for him, and he began researching materials.  Adding the trim would turn out to be one of the last things done once the bathroom was totally functional, since it required more exacting patience and skill.  He had made the drawer fronts so they could be removed to perform this task.

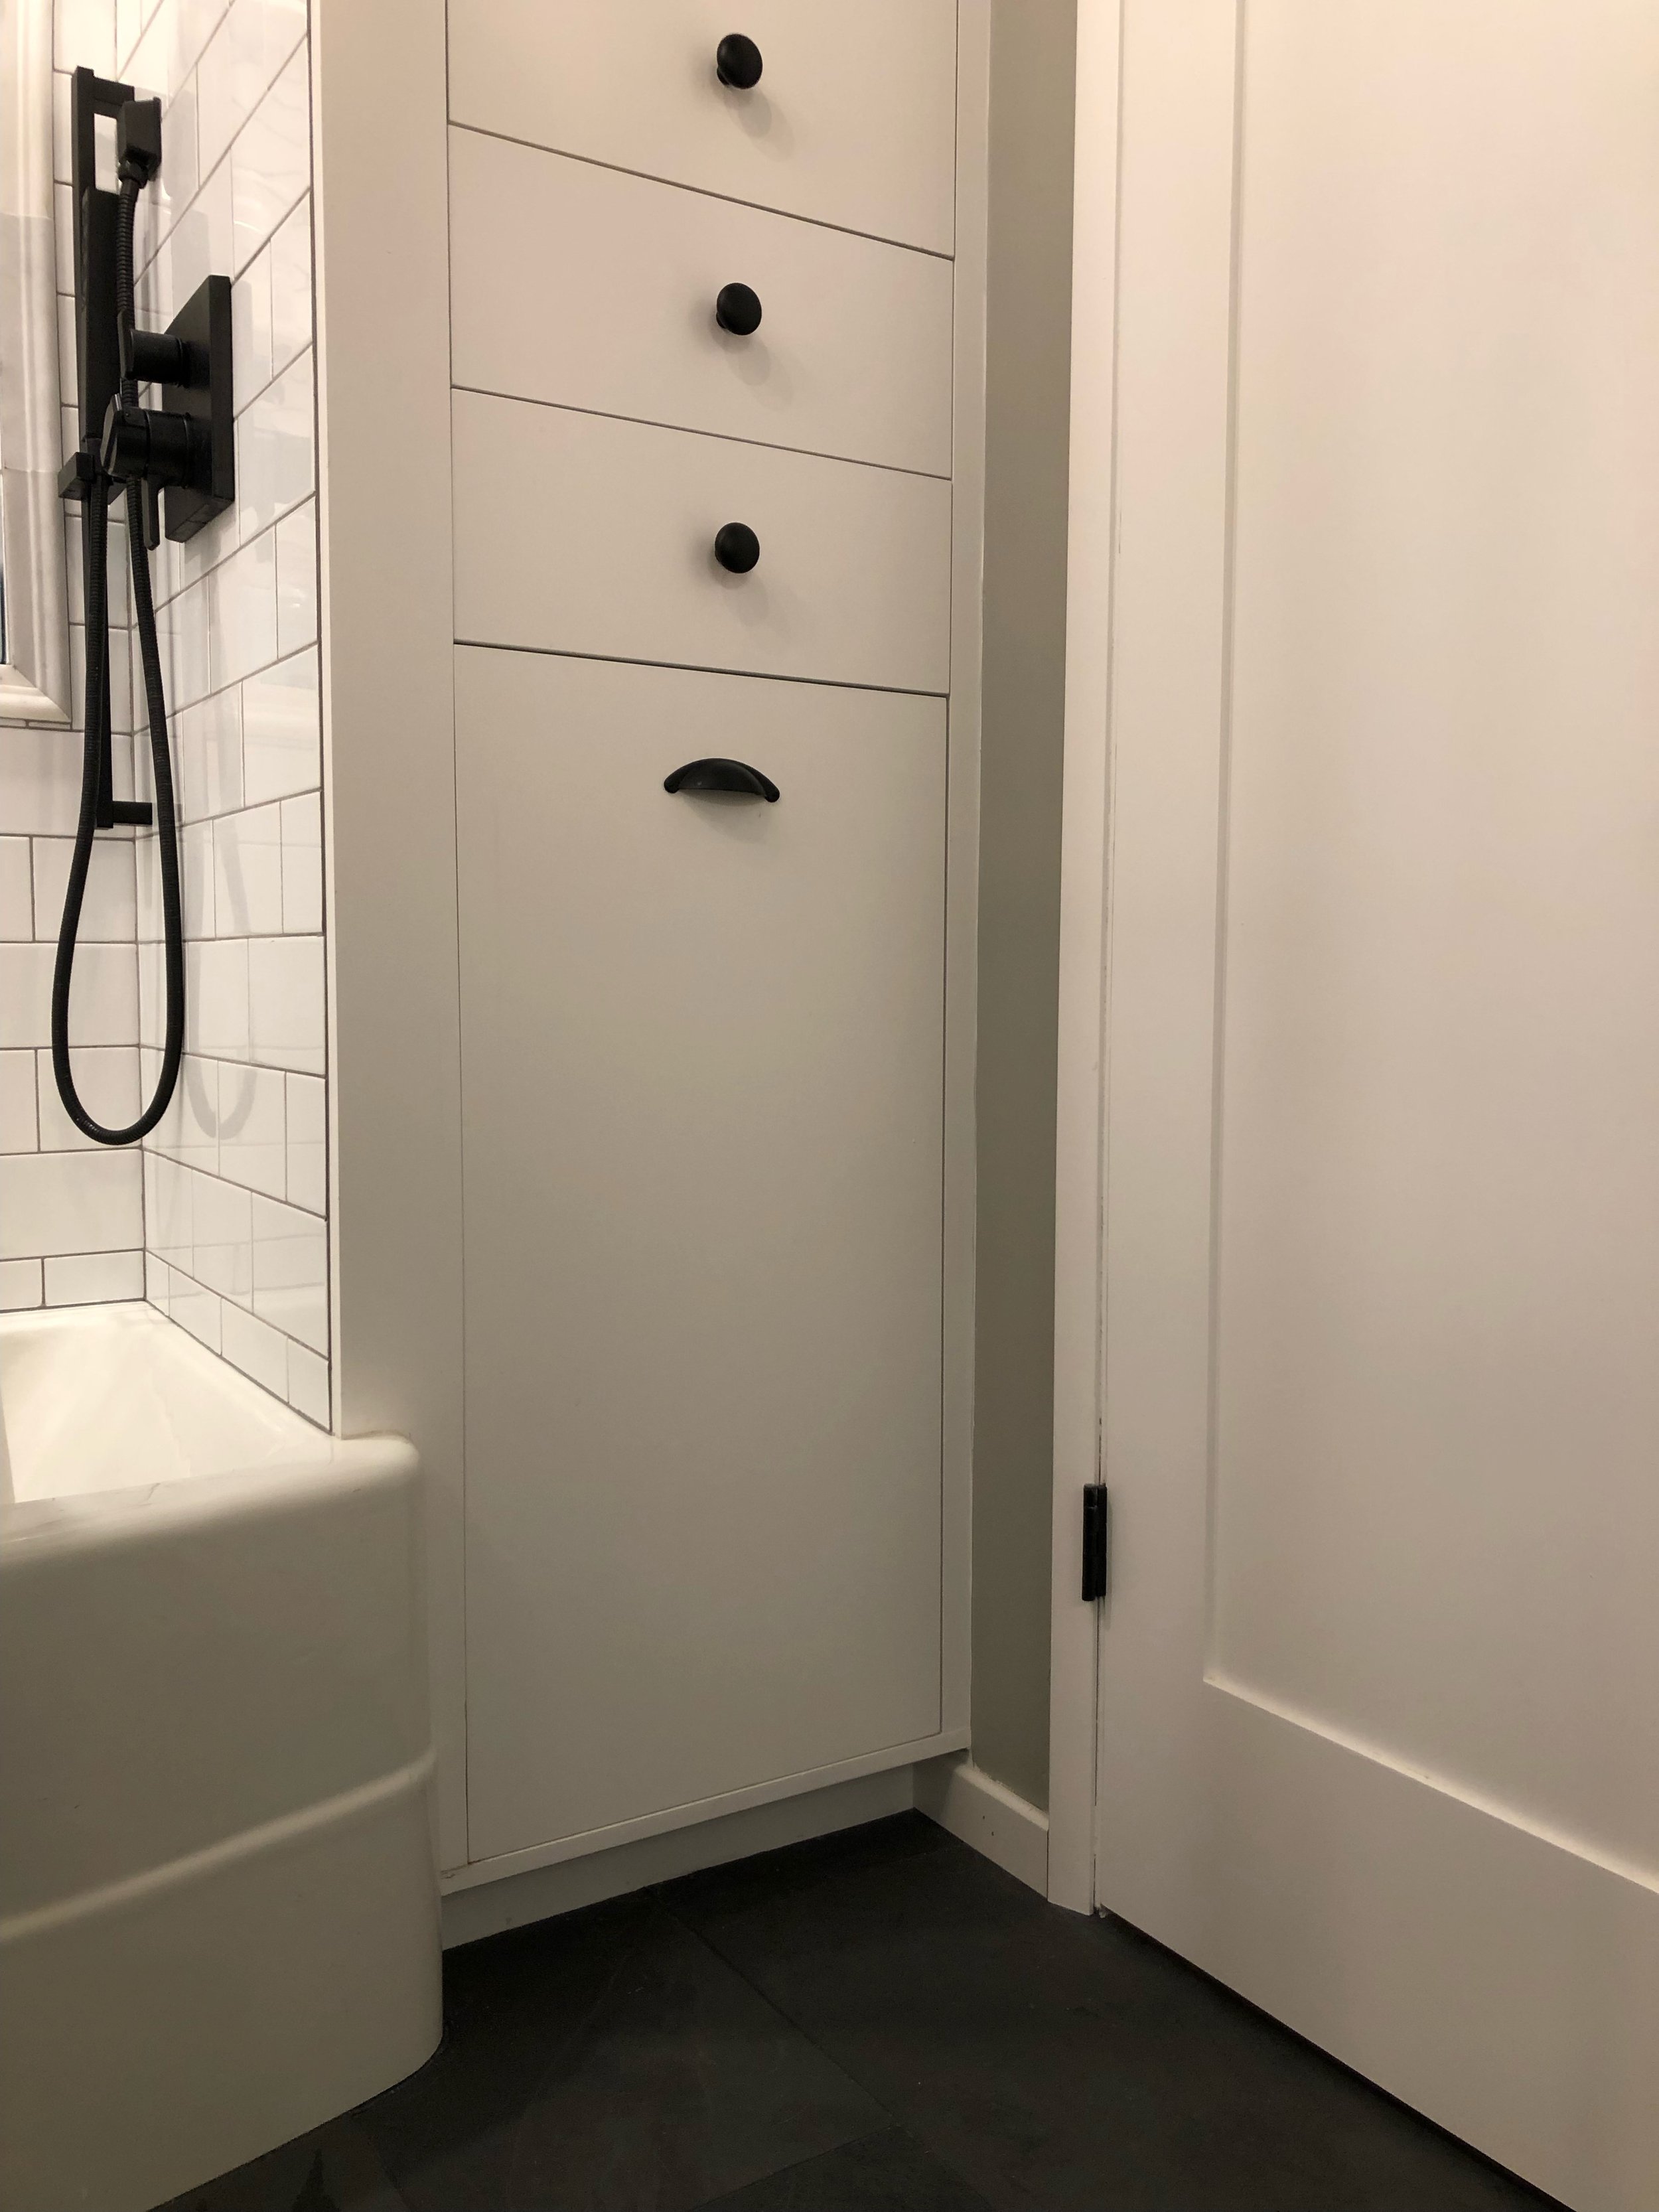
The first cabinets he worked on was the linen, drawers and laundry cabinet.  These three spaces all functioned independently, but had to occupy one space.  As you will recall from the previous post, the shower wall had to be created with the linen cabinet as a support wall.

We had decided on a simple flat faced, inset cabinet style.  This is a more precise style of cabinet to build, so it took more time.  Not to mention having to drive some distance to obtain the needed materials, remember this is in the time of Covid, with limited stock and access.

To maximize storage, the cabinet was built to the ceiling and several shelves were planned to accommodate towels, supplies and various and sundry bathroom items.

The laundry pull-out was a design the engineer devised to suit our needs.  He found a large wheeled laundry basket and built the pull out bin to be one that the wheels could just roll off the platform and onto the floor without having to lift the heavy basket.

Once the cabinets were built, they could be installed and the shower plumbing could be finished.  There is an access panel inside the linen cabinet to get to the plumbing should that be necessary.

The engineer then began working on the vanity cabinets, since he had purchased all the wood needed for both the linen area and vanity.  There was much measuring and figuring as he wanted to allow for the largest drawers and full extension.  This was the result of living with cheap, ineffective drawers on one half of the vanity and practically non-usable drawers on the other half.  

The inlay is one of the most noticeable details of the entire remodel.  The engineer built a jig for his router to be just deep enough so that the ebony wood would be flush with the surface of the drawer face.  The effect is dramatic.

I was so excited to be able to get those drawers organized.  I am not a fan of having a lot of things on the counter and with a huge trough sink, there isn’t much counter space to begin with.  At this point the bathroom was beginning to feel much more finished.  But, I’m getting ahead of myself, the tile couldn’t be started until the sink counter was set.


Next:  Tile and stone

Making the Most of Your Pantry and Under Counter Cabinets

Most of us can benefit from more storage in every room, but the kitchen, being the heart of the home, deserves special consideration.  Once, storage for food, cooking utensils, and large and small appliances, were all that a kitchen afforded the one cook in the house.  Counter space was important, too, but not as much so as it is today.  Now kitchens serve as entertainment areas as well as the food preparation and eating room.  Now, too, there may be multiple cooks in the kitchen.

Great storage, therefore, is even more important to today’s homeowner.  Old-style kitchen cabinets for food storage are more outdated now than ever, and have been replaced by pantries and pull-out shelves, which are far more practical.

What do you do, if your current kitchen doesn’t have these amenities?  Start with what you have, basic cabinets; lower cabinets will be far more efficient with pull-out shelves.   Most homeowners can retrofit the cabinets without having to break the bank.  The nice thing about pull-out shelves is you can buy them one or two at a time as your budget affords.  Having pull-out shelves allows you to utilize the entire 24 inch depth of your lower cabinets, without having to call in acrobatics to reach whatever might have slipped to the back.

Once your lower cabinets are in order, concentrate on the upper cabinets; for many of us, they are too tall to utilize more than one or two shelves effectively, so make the most of what you do have.  Using the hard-to-reach upper shelves for little-used items or large serving pieces makes the most sense.  For the shelves you can reach, try clear, vacuum sealed canisters; they come in a great variety of sizes for all your dry storage needs.  These are great for cereals, rice, crackers, and pasta; and you can easily see how much you have on hand, thus making quick work of your grocery shopping list when it’s time to restock.

You may want to keep your baking materials in one place; vacuum sealed canisters are a must here too, either clear or stainless or ceramic work nicely.  The smaller items like baking soda and powder are fine in their commercial containers and fit well into the space.  Since you likely use salt frequently, you may want to keep it in an easy-to-scoop apothecary jar for convenience.

Adding stackable wire racks to cabinets or a pantry shelf helps with cans and jars like soups and tomato products.  Once these items are faced-forward and in order, it will be simple to see and access them and record what is needed for the next stop at the grocery store.

If you are fortunate enough to have an actual pantry, keeping the above-mentioned ideas in mind will help keep your pantry well ordered.  If you happen to have a closet near-by--and I mean right near the kitchen--you can easily outfit it with some of these ideas.  Relegating a make-shift pantry to an entry hall closet is less than ideal; but remember that a retrofitted closet is going to be about 24 inches deep, so the same rules would apply regarding shelves that re too deep to access the items at the rear of the closet.  Having pull-out shelves would be most beneficial.  Having shelves custom cut to fit, measuring about 12 inches deep also works.  Lower shelves in a make-shift closet-turned-pantry can be deeper for storage of little-used large appliances, like a crock-pot, 40-cup coffee maker, or small appliances. 

All of these ideas are all simple enough for most homeowners to achieve a high level of success and a more orderly and efficient kitchen space.